¶ Overview
In order to track an event, we usually need three configuration steps to be done. This involves Events, Triggers and Selectors. They can be basically explained as follows:
Events -> What should happen
Triggers -> When should it happen
Selectors -> On what HTML element
🛠 There are different workflows. In this tutorial we will start with the selectors. Usually you can start with the "Events", since all subcomponents can be created directly from the event configuration.
In this example, we will track the visibility of a header image.
¶ Selectors
A selector represents the CSS selector of a specific HTML object within the site. A selector can incorporate one or more elements at the same time.
To find out more about CSS selectors, we recommend reading this tutorial:
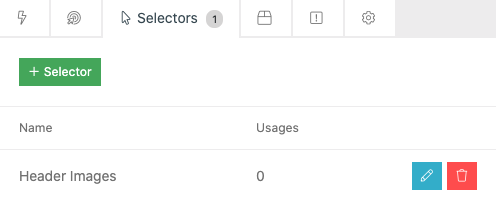
To add a new selector, click "+ Selector"

Enter a name for the new selector. You can optionally add a "Tag" to logically group all property settings belonging to a "joint setup".
The field CSS selector expects a CSS selector like:
body > header > img.bg
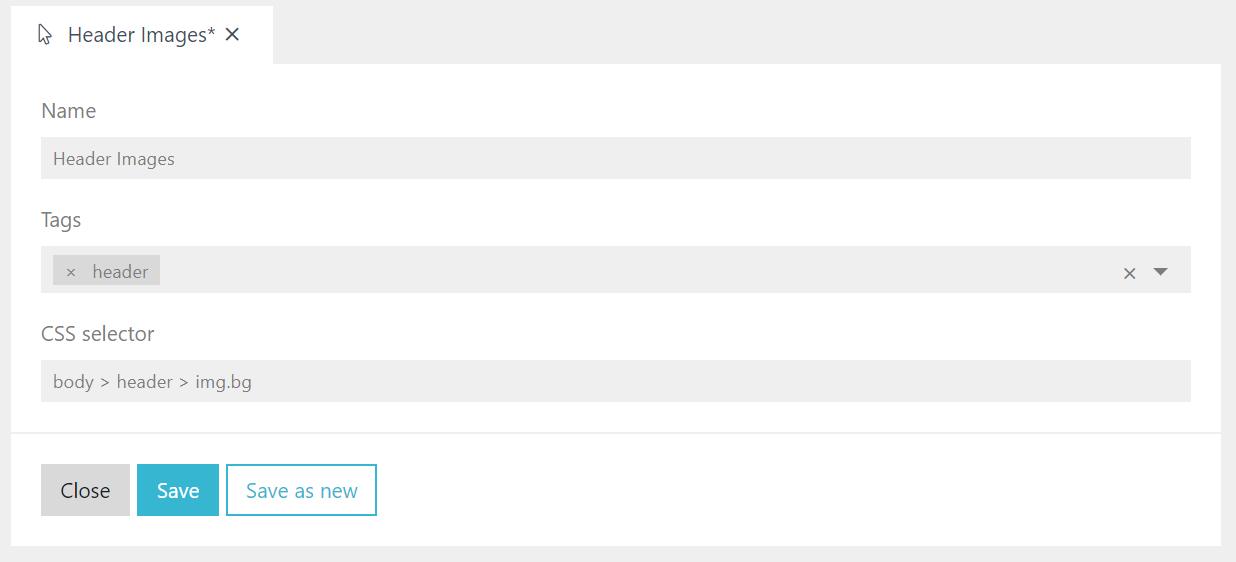
The selector is now ready to use
¶ Triggers
Now lets use the defined selector in a trigger. Remember: the trigger defines "WHEN" an event is fired. In order to create a new trigger use the „+ Trigger“ button.

In order to track the visibility we will use a visibility trigger and give it a proper description name. The visibility trigger fires, as soon a certain time and visibility is given. For our example, we will use a 10sec (10000ms) timer with 70% visibility. In order to fire, the user needs to see at least 70% of the image in an active mode, for at least 10 seconds.
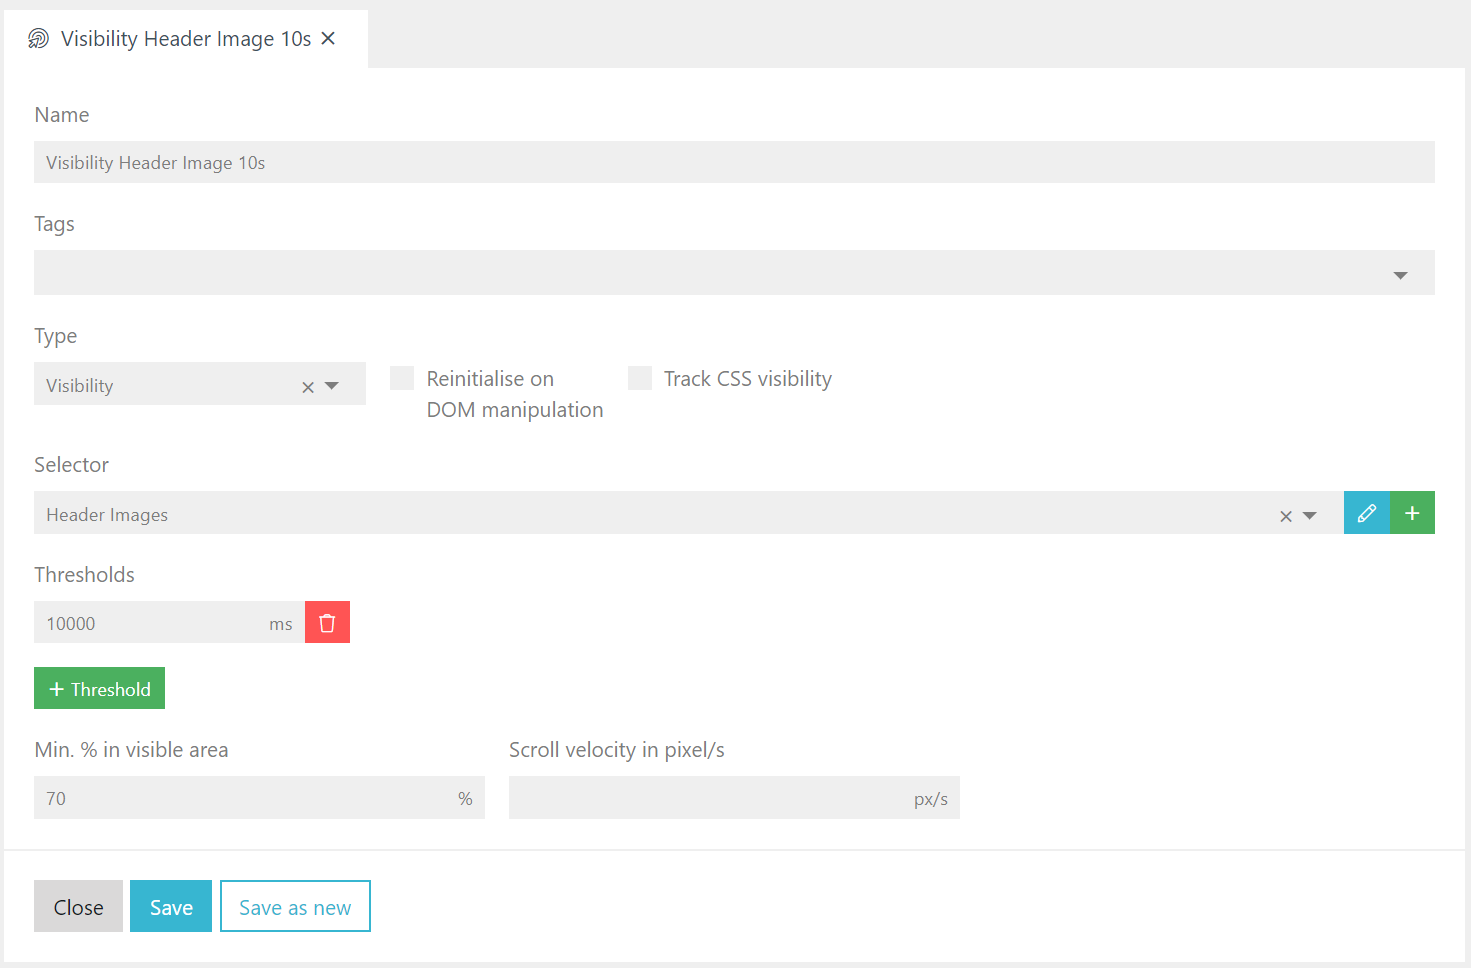
When done, simply click the save button.
¶ Events
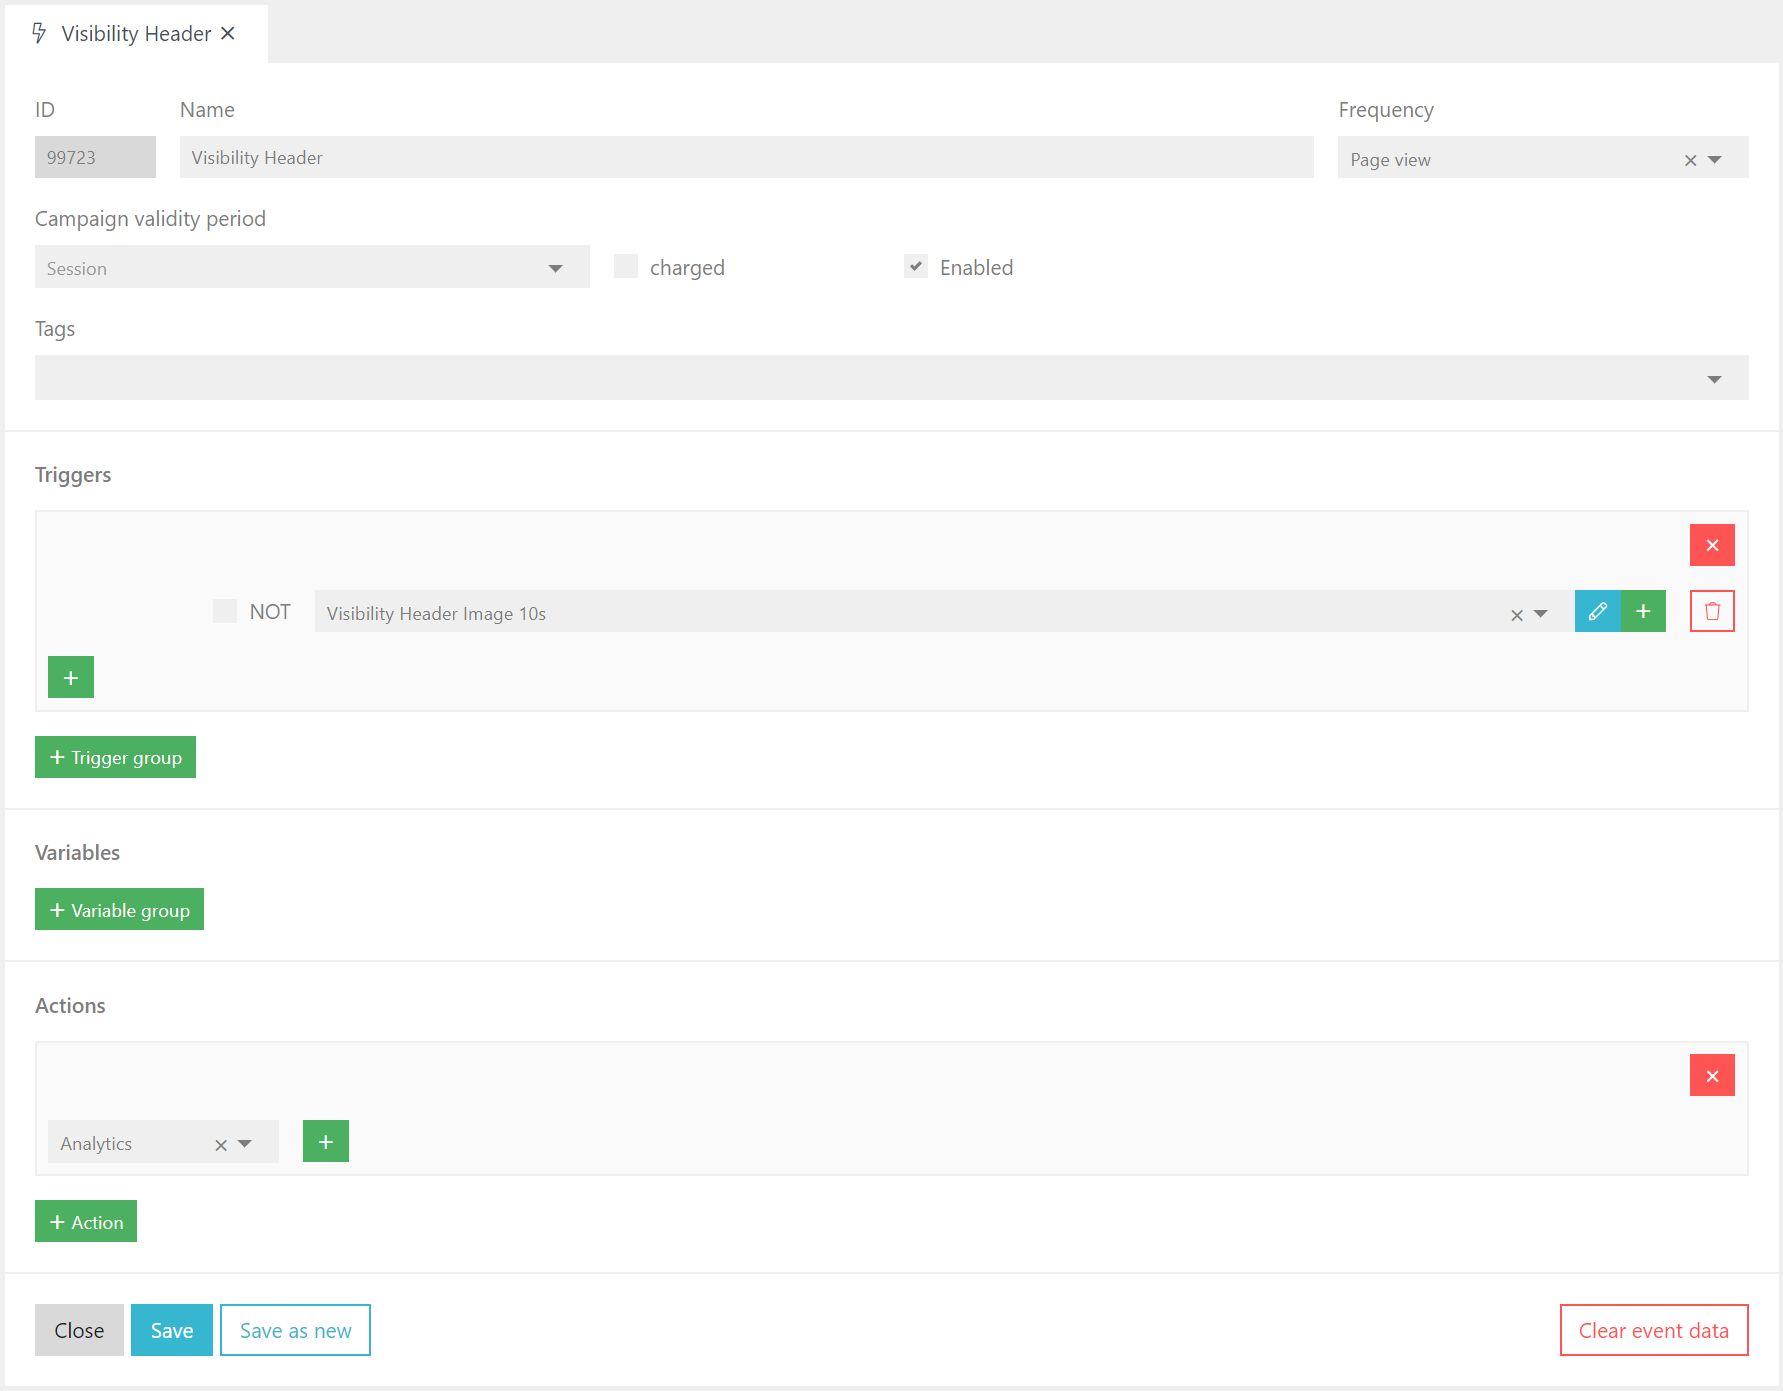
By now we have defined what element should be tracked and when it should be tracked. Now we need to configure, what should be happening next. This can be done using events. In order to create a new event, simply click the "+ Event" button in the events tab.

First we define a name. We need to configure the frequency an event can occur. This is depending on what you would like to report.
You can choose from the following options:
-
Page View
An event on page view will only be fired once within a single page view, Without loading a next page, the event will not fire again.
-
Session
Session based Events will only fire once in a session. Is the event fired, it will no longer fire for the complete session.
💡 To reset a session you might use the following command in your browser console: FuseDeck.resetSession()
-
Every Time
The event will fire, each time the trigger fires
Variables
If you need to filter for a specific page or any other condition, variables can be used as a filter.
Actions
Actions then define what should be happening if the trigger fires, the frequency allowing it and the variables are fitting. There are many actions available, but for now, we will stick to the action "analytics".
Hit the "+ Action" button to append an action to the event and select "Analytics" from the dropdown menu. Multiple actions can be fired with one event.
The "Analytics" action will create a reportable, countable series to be used in "Events". In an advanced setup, specific variables can be appended to the "Analytics" action. In this case we will stick to a basic setup.
Simply hit the save button, and we are ready to publish our first event. We are now ready to Submit a new version